To print out with QGIS, "Composer" is used.
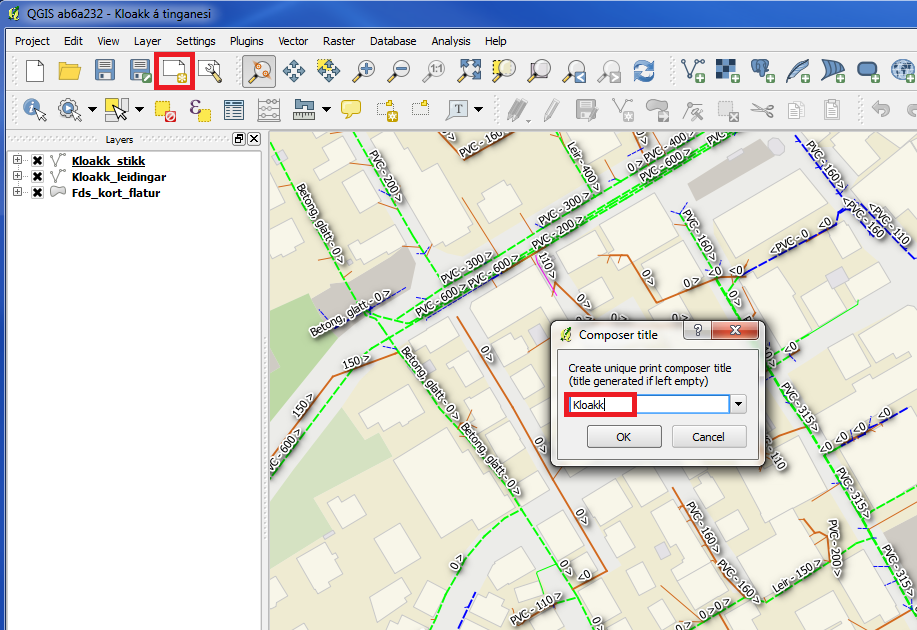
The first time we need to print, we click on the icon "New Print Composer". (You could also use the icon "Composer manager". You can save print settings for reuse)
A small box popups, where we need to name our print. In our example we will name it "Kloakk". Then click "OK".
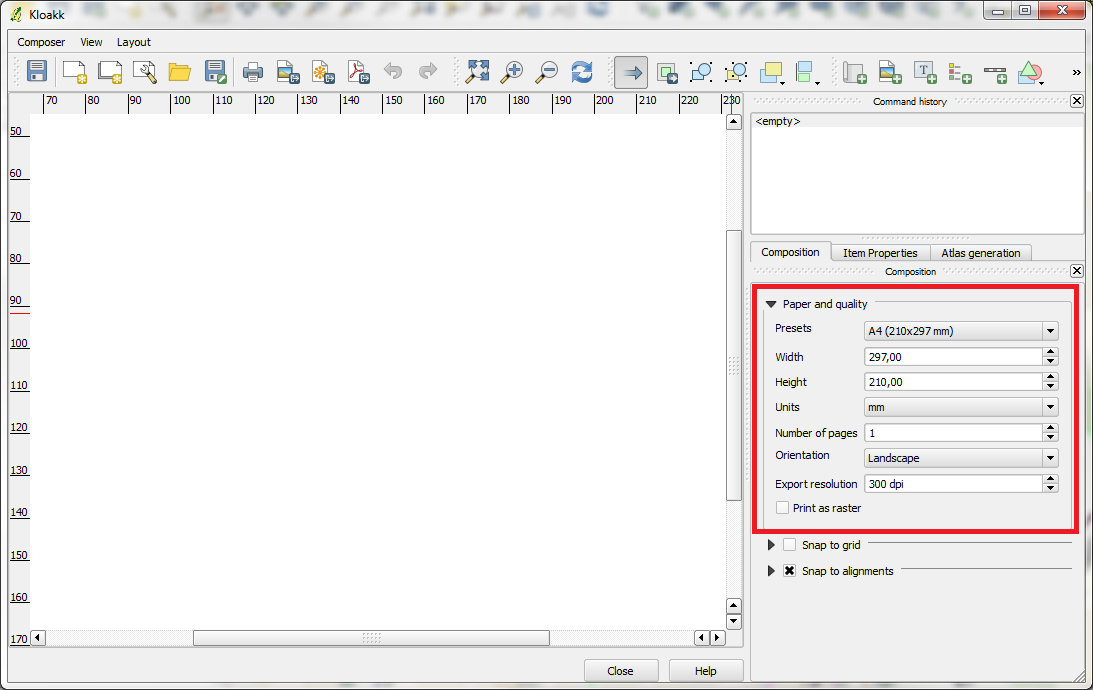
"Composer" opens.
At the top there is a menu and icons. Below is the printing area on the left, and a setting box on the right.
"Composition" opens by default. Here you can set paper size, orientation etc.
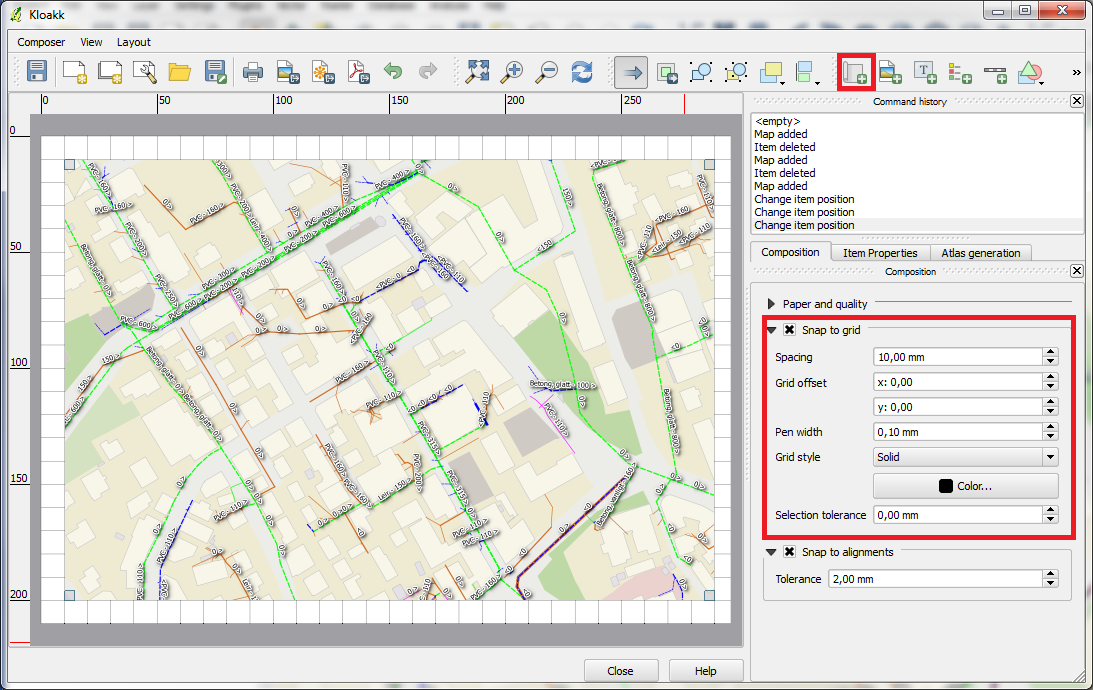
It is smart to use "Grid" to position the print by snapping.
In the right panel open and choose "Snap to grid" under "Composition".
Set "Grid style" to "Solid" or whatever you like.
Click on "Add new map" and add the map with the mouse. (press left mouse button down and mark the area, where you want the map to appear)
"Composer" is rich on tools.
We will only try a few.
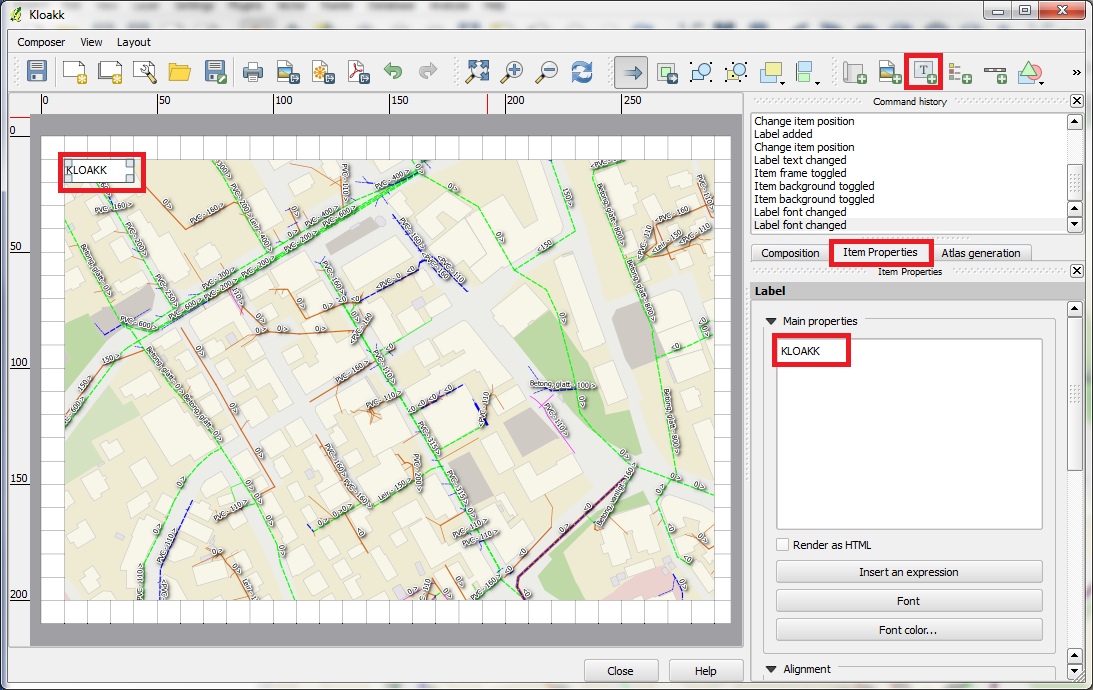
Click on the icon "Add new label".
Click on the map, where you want the text to appear.
In the right panel click on "Item Properties".
Write the text under "Main properties".
If you scroll further down you can for example choose font type, size etc.

Click on the icon "Add new legend".
Click on the map, where you want the legend to appear.
In the right panel click on "Item Properties".
In the right panel you can see, that the legend contains 3 different layers.
We do only want to show the legend for one layer. Below are some icons, which can be used for - for example - change the order, delete etc. We then delete 2 layers, so there is only one left.
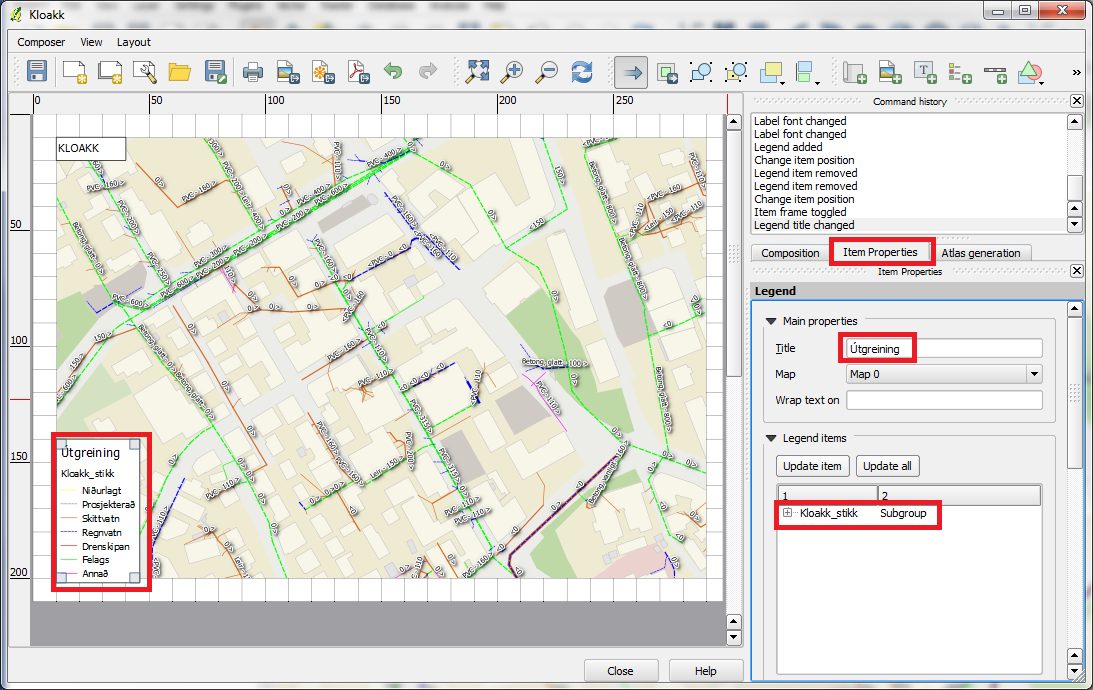
The legend is now smaller and has only 1 layer. We move it to the right place with our mouse by snapping to "Grid".
We write "Útgreining" (or whatever) in "Title" under "Main properties".
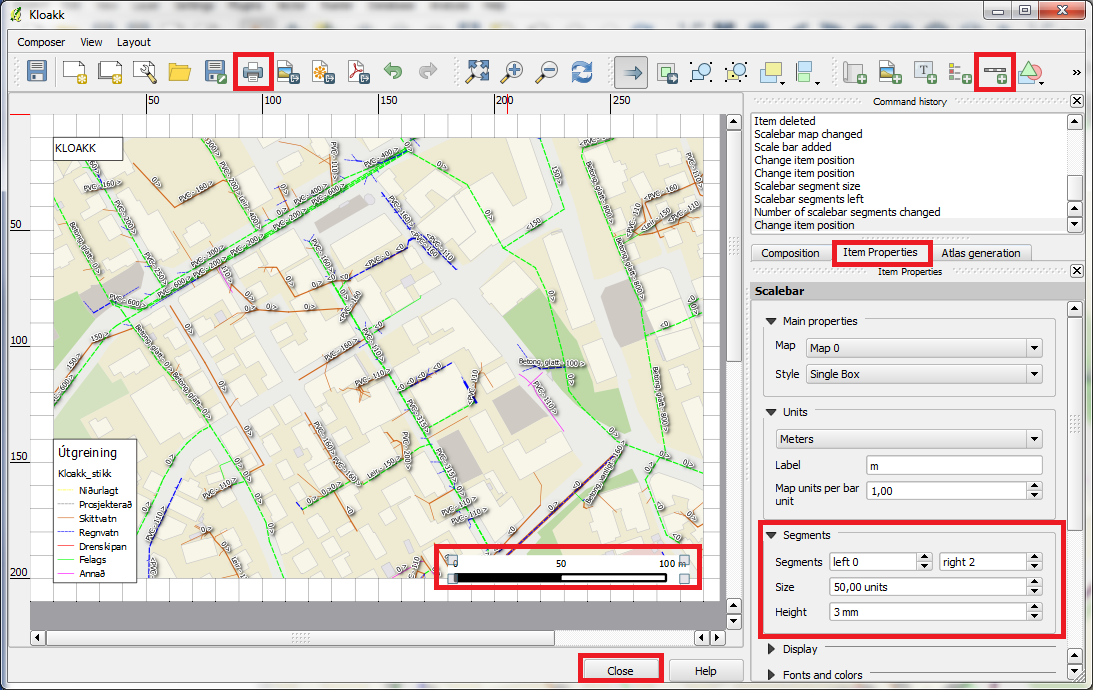
Click on "Add new scalebar".
Click on the map, where you want the scalebar to appear.
In the right panel click on "Item Properties".
Under "Segments" you can set the layout of the scalebar.
When you are satisfied, you can move the scalebar to the right place with your mouse.
Now the only thing left is to click on "Print" to print.
And click on "Close" when you are finished.
You are welcome to write comments below. If you have any questions, please post in the forum.