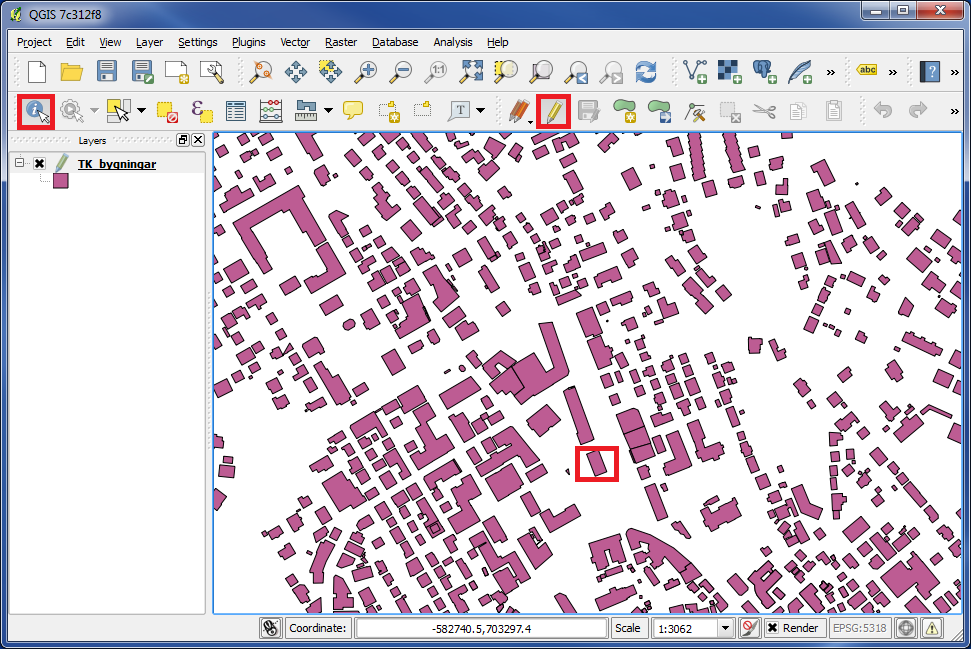
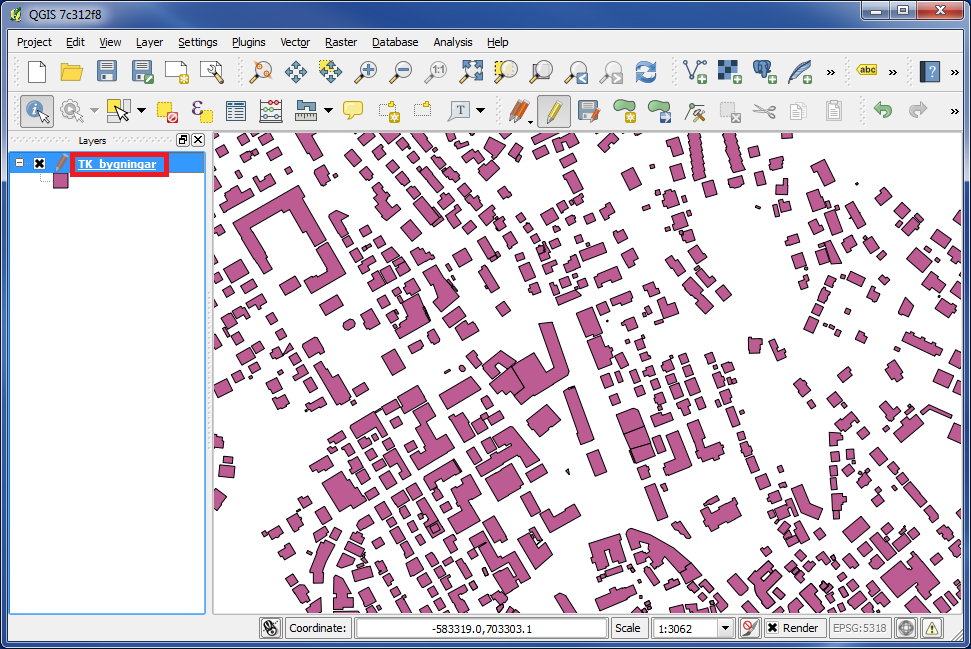
We added a layer with buildings.
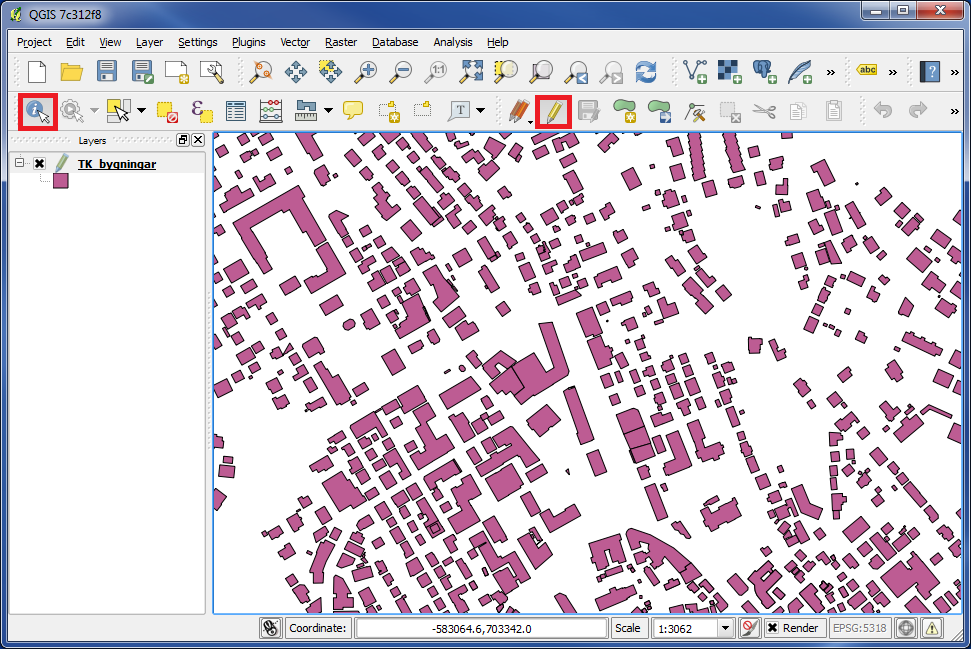
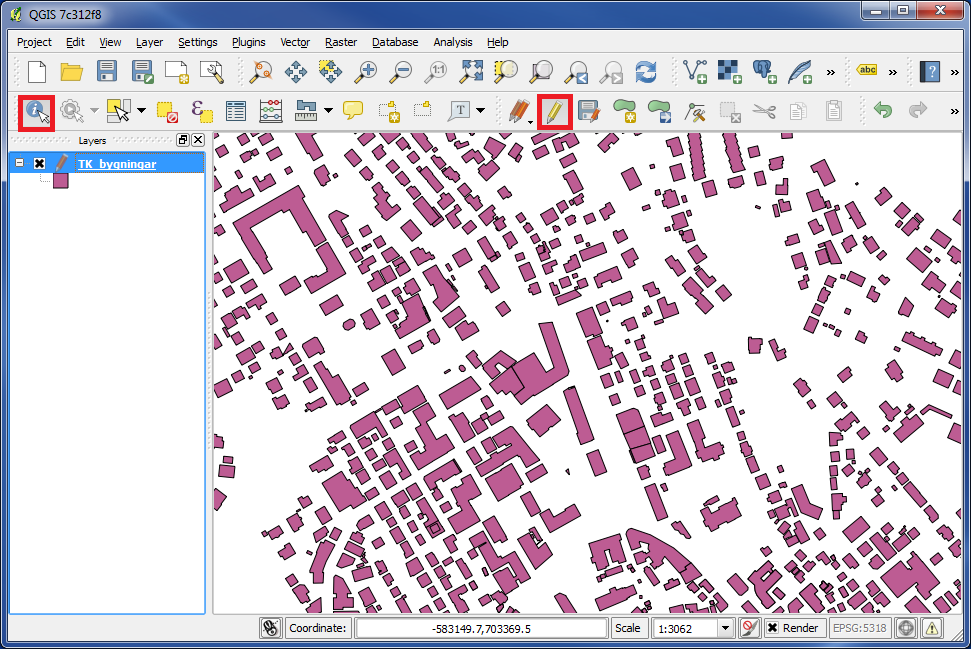
If you need to change the information for a building, you can click on the "Toggle Editing" icon, then click on the "Identify Features" icon, and then click on the building on the map.
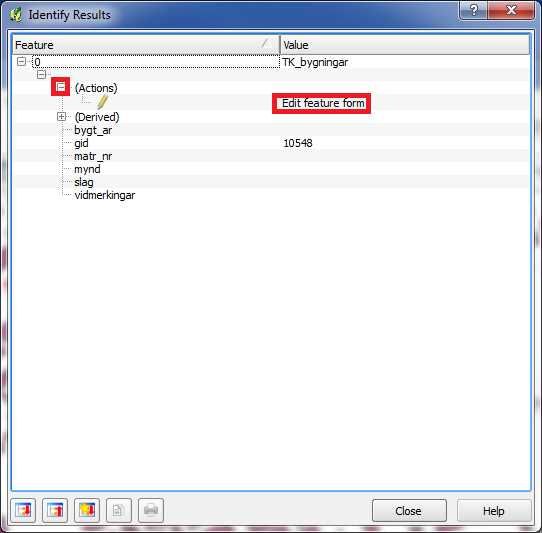
If you didnt set up QGIS to automatically open the edit feature form, this box will open first.
Click on "+" at the left of "(Actions)", and then click on "Edit Feature Form". Then the edit feature form will open.
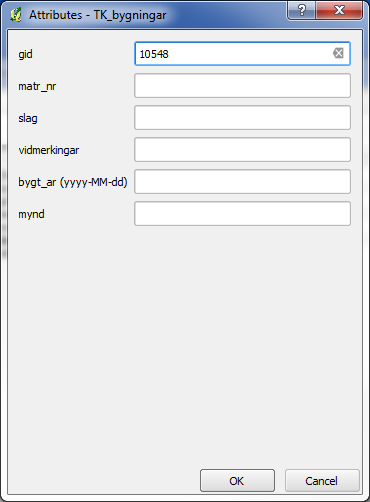
This is a "default" form. We will now try to improve this form.
Close the form.
Double click on the layer, and the box "Layer Properties" appears.
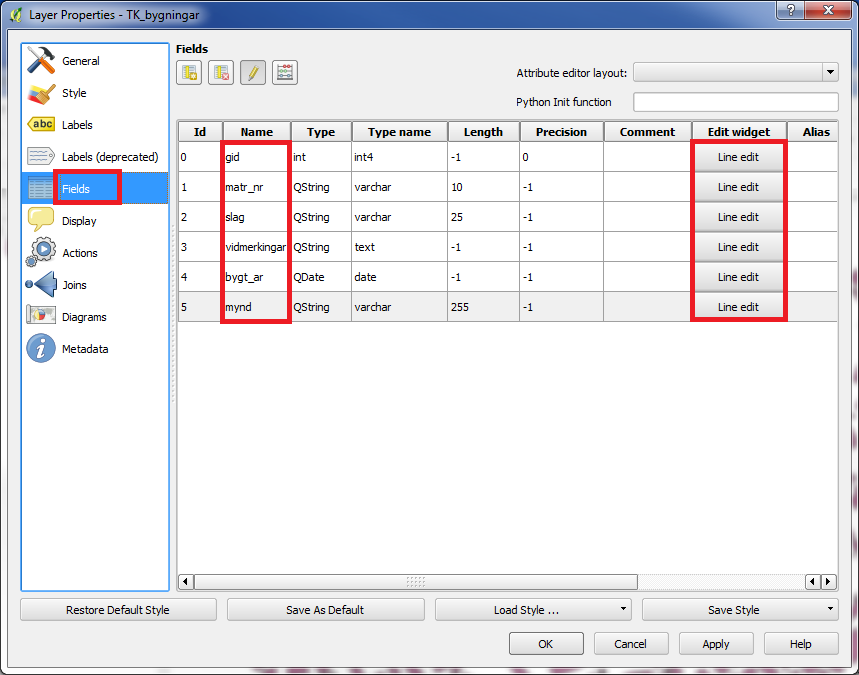
In the left panel choose "Fields".
Here we design the look of the form.
This page tells us, that we have 6 fields in the form, which are all of the type "Line edit".
Click on one of the buttons named "Line edit", and the box "Attribute Edit Dialog" appears.
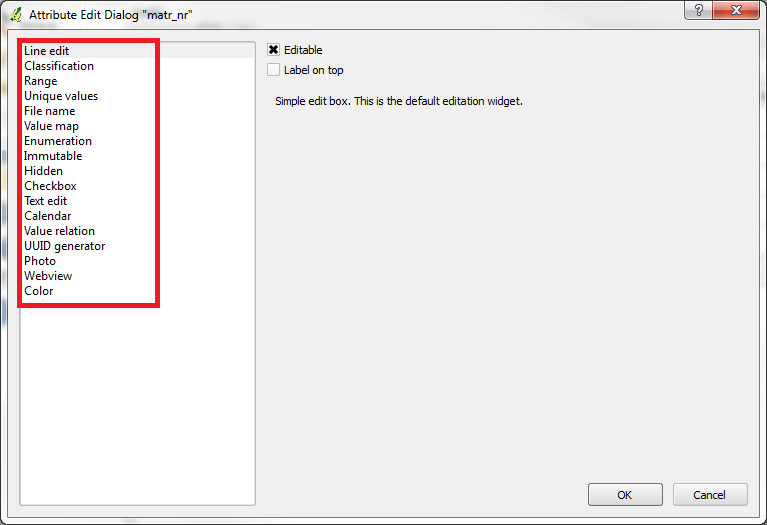
Here you see, that we can choose between many types to our fields.
Close the box.
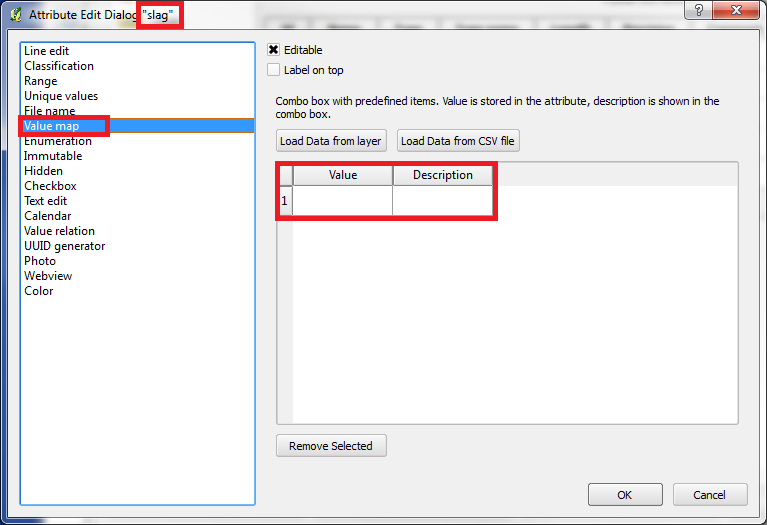
Click on the button "Line edit" of the field "slag", and the box "Attribute Edit Dialog" appears again, this time for "slag".
The meaning of the field "slag" is to tell, whether the building is a private house, commercial building etc.
It is obvious that we should make a list of values to choose from.
In the left panel we choose "Value map".
Then in the right panel a box appears, where we can input some values.
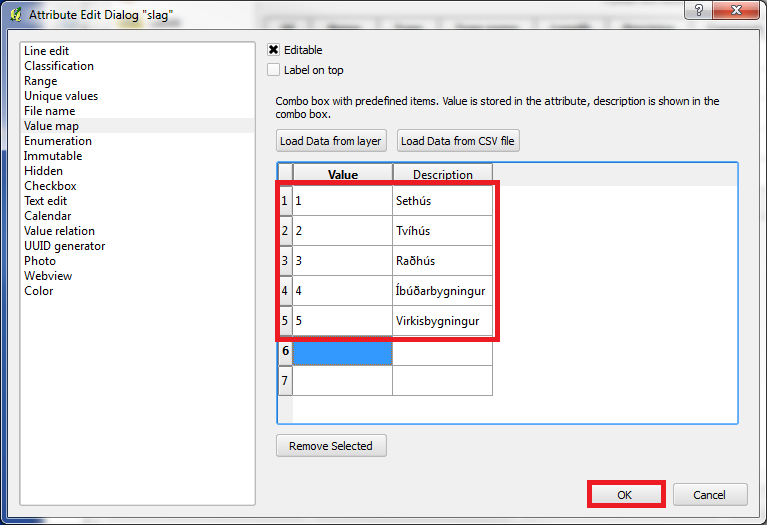
We write/add the different types of buildings to our list.
"Value" is the value which is saved in the database.
"Description" is the text, which will appear in the dropdown field in the form.
When you are finished, click on "OK".
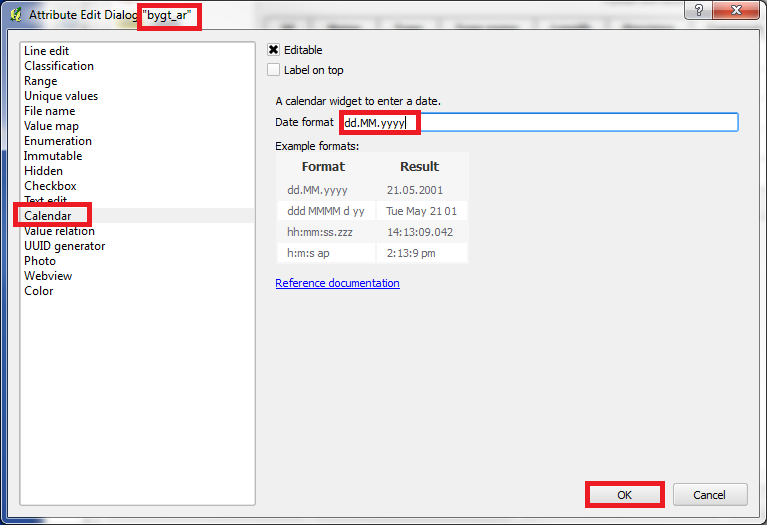
For the field "bygt_ar" we choose the type "Calendar".
Enter a format in "Date format". (by your own choice)
Click "OK".
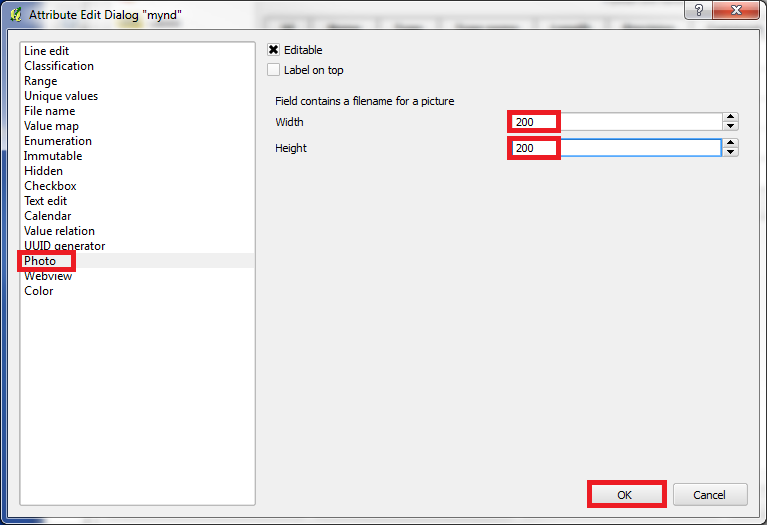
For the field "mynd" we choose the type "Photo".
We can specify the size of the image, when it is showed in the form.
Then click "OK".
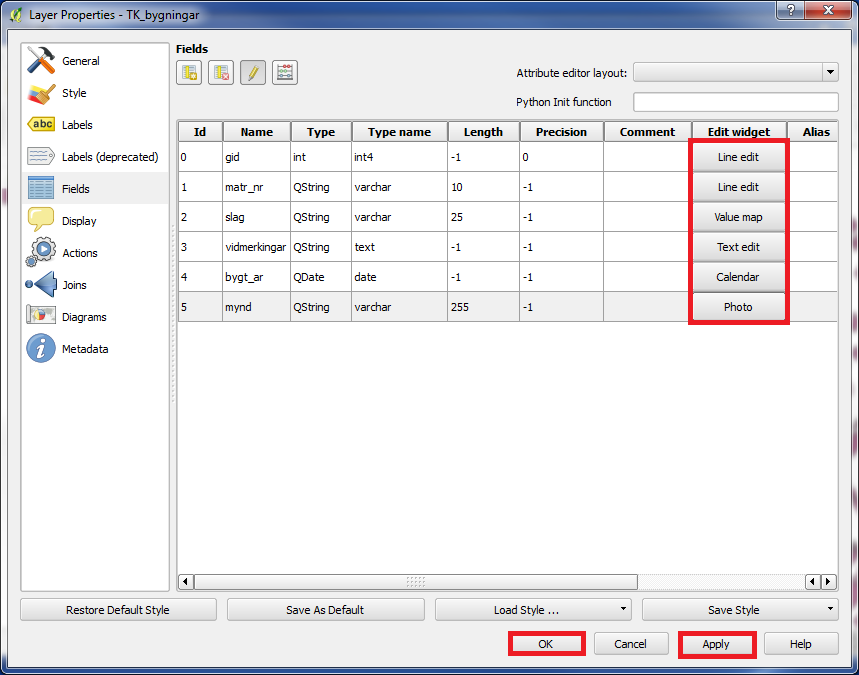
Now we have different types under "Edit widget".
Click "Apply" and "OK".
We will take a look at the form again.
Click on the icon "Toggle Editing", then on the icon "Identify Features", and then click on the building on the map.
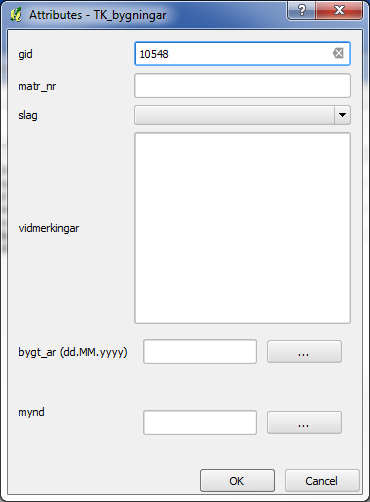
The form has now got some new functions.
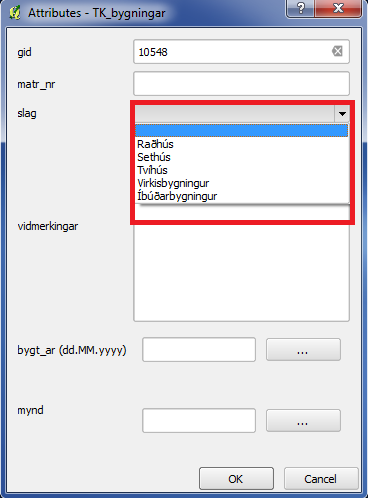
We now have a list to choose from under "slag".

We now have a calendar to choose date under "bygt_ar".
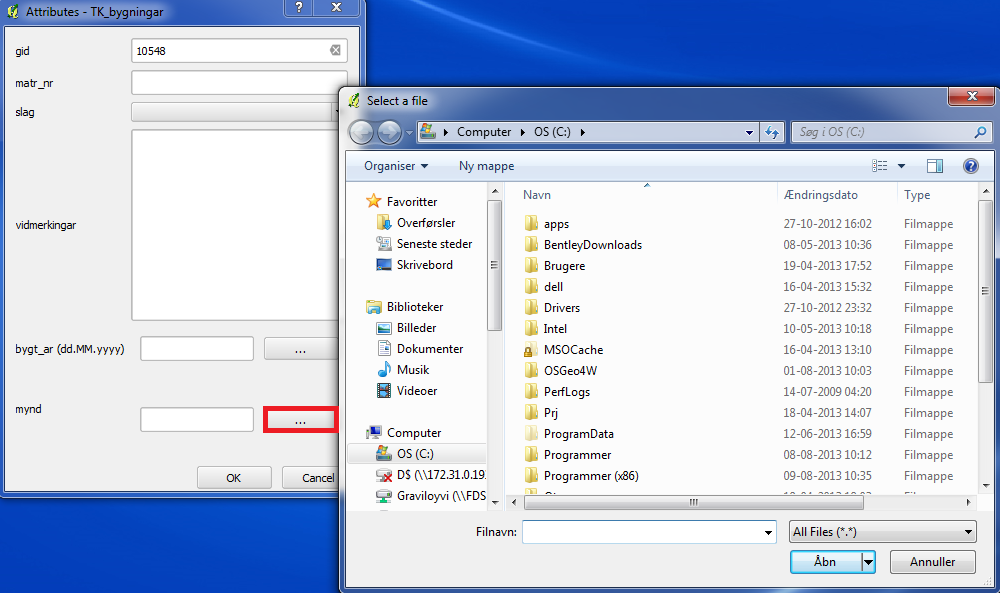
We now have a file browser to find an image under "mynd".
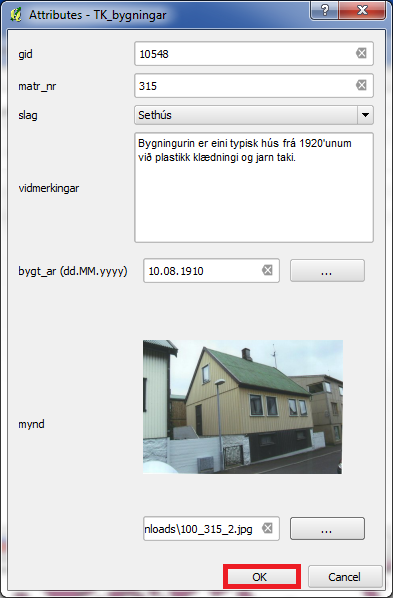
We fill out the form and click "OK".
We will now try to improve the form a little more.
In the left panel double click on the layer.

In the left panel choose "Fields".
In the upper right corner under "Attribute editor layout" choose "Drag and drop designer".
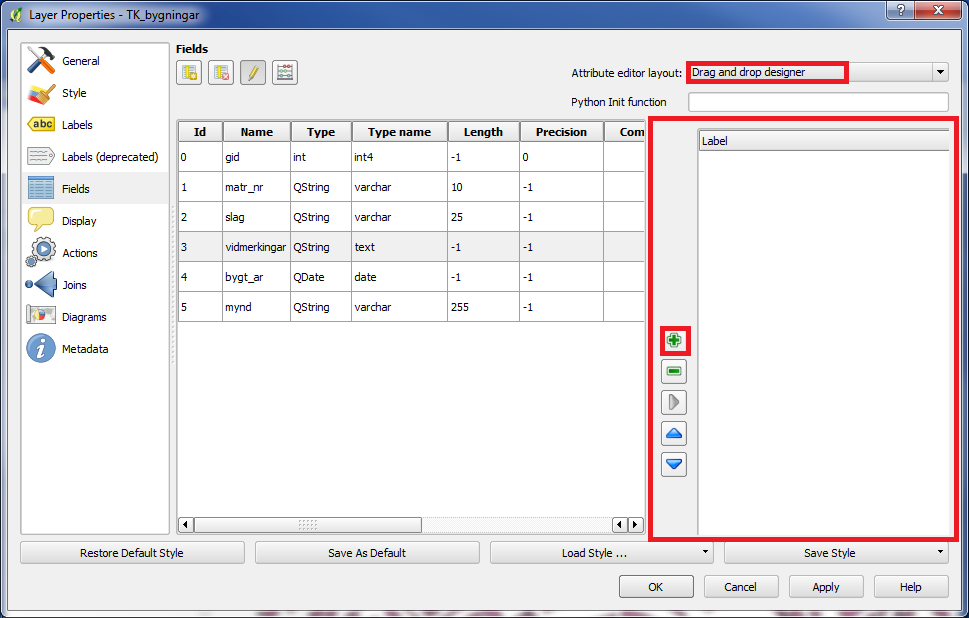
A new box now appears on the right.
Click on "+".
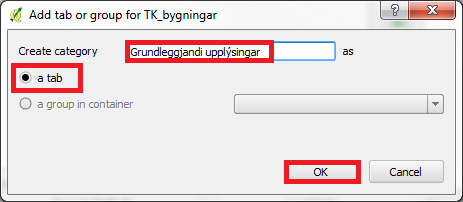
We will divide the form into 2 tabs.
Under "Create category" enter "Grundleggjandi upplýsingar".
Choose "a tab".
Click on "OK".
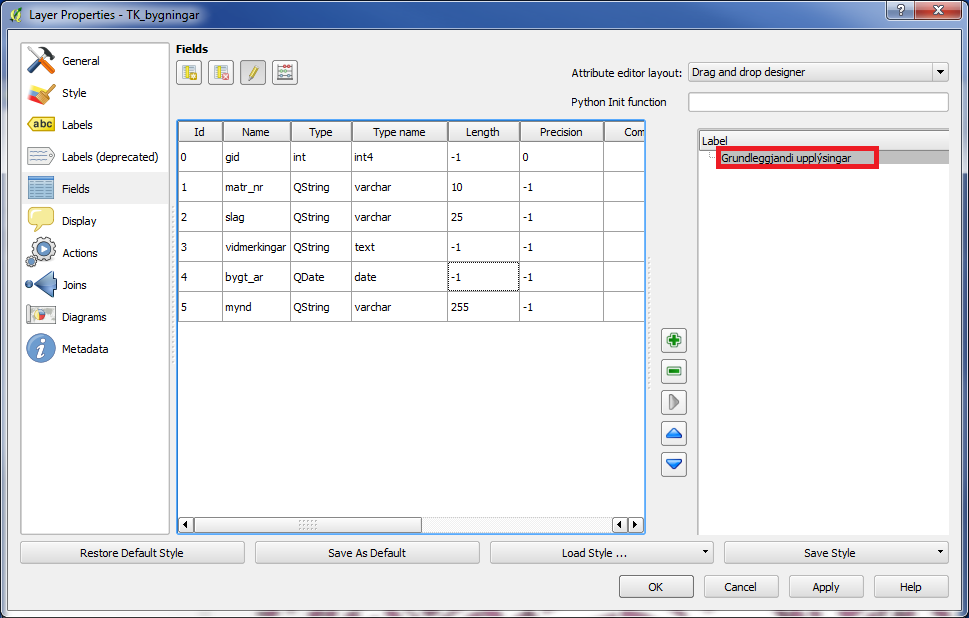
We did now create a space named "Grundleggjandi upplýsingar".
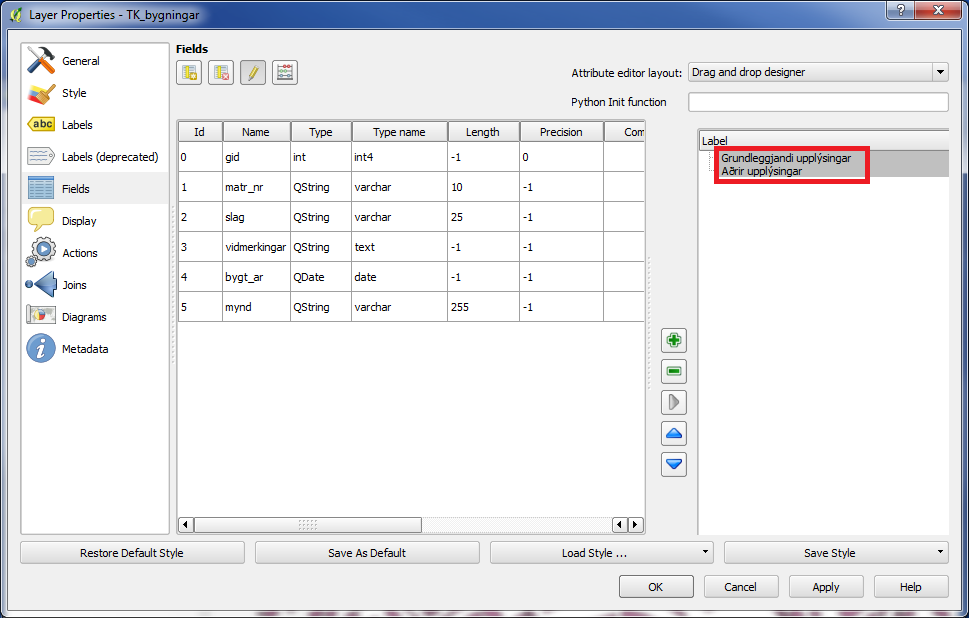
We create another space the same way, and name it "Aðrir upplýsingar".
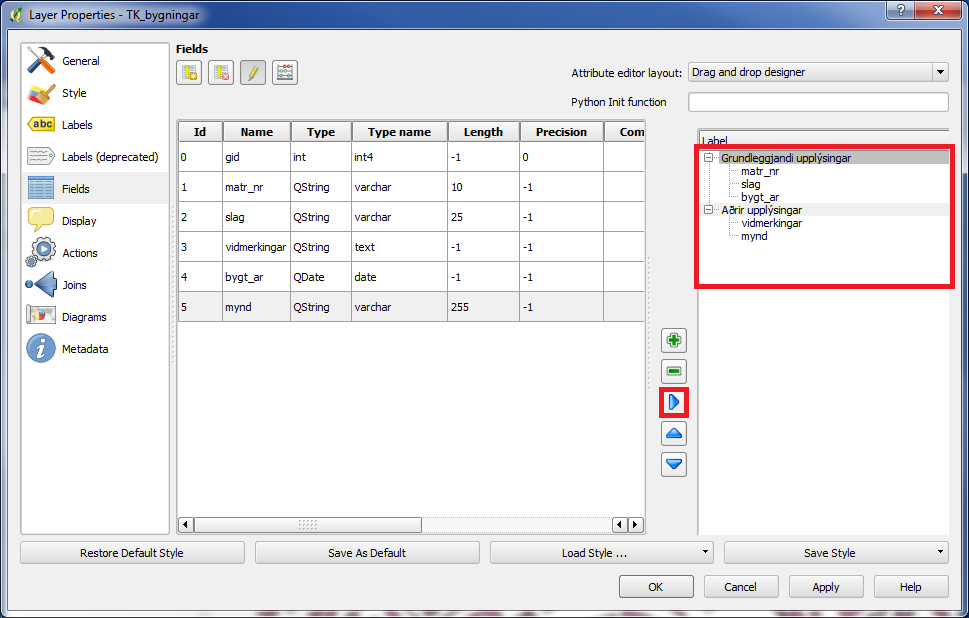
Now we can move the different fields to the space, where they belong.
Click on the desired field, then click on the space, where you want the field to belong, and then click on the right arrow.
When you are finished, click on "Apply" and "OK".
We will again take a look at the form.
Click on the icon "Toggle Editing", then on the icon "Identify Features", and then click on the building in the map.
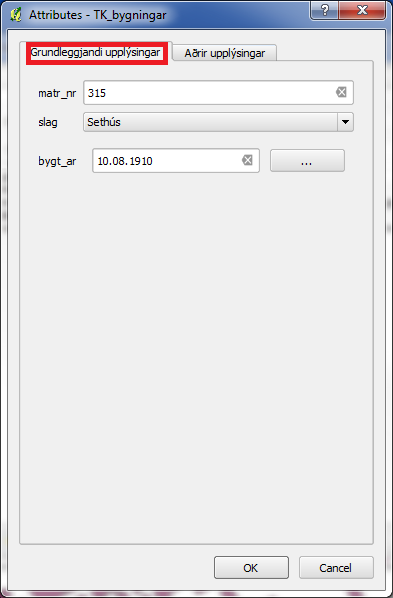
Now the form is divided into 2 tabs.
One is named "Grundleggjandi upplýsingar" ...
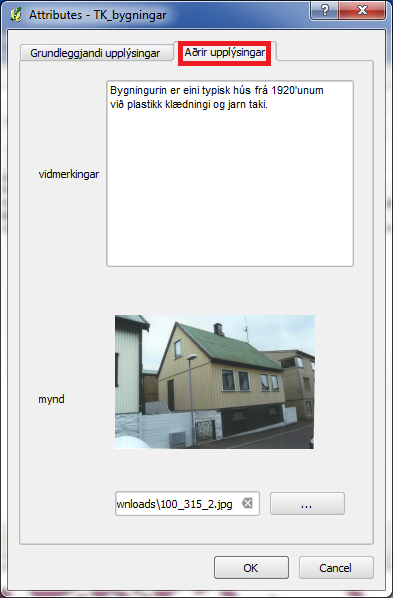
... and the other is named "Aðrir upplýsingar".
You are welcome to write comments below. If you have any questions, please post in the forum.