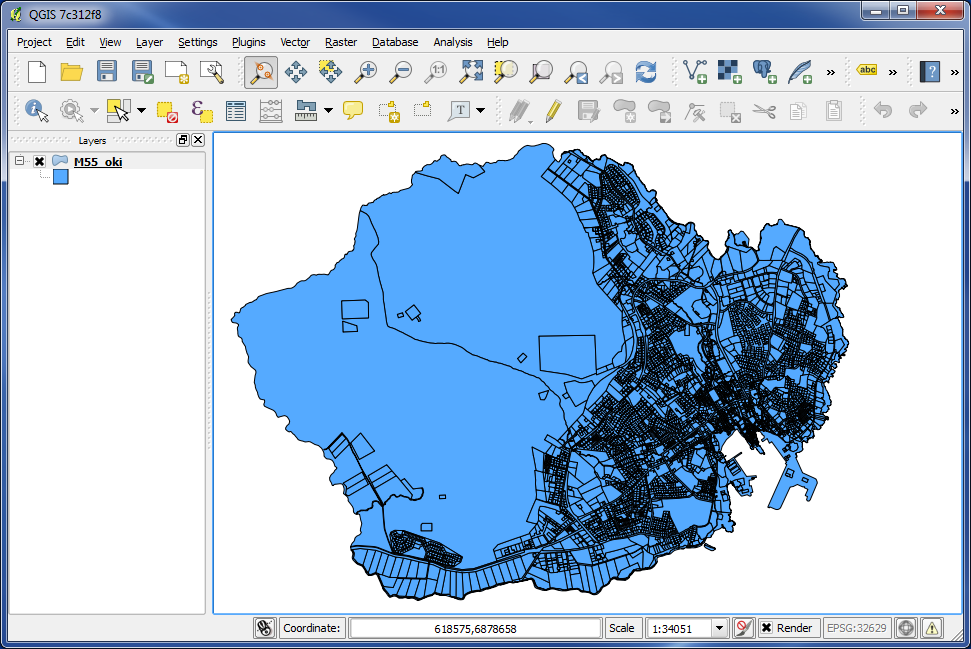
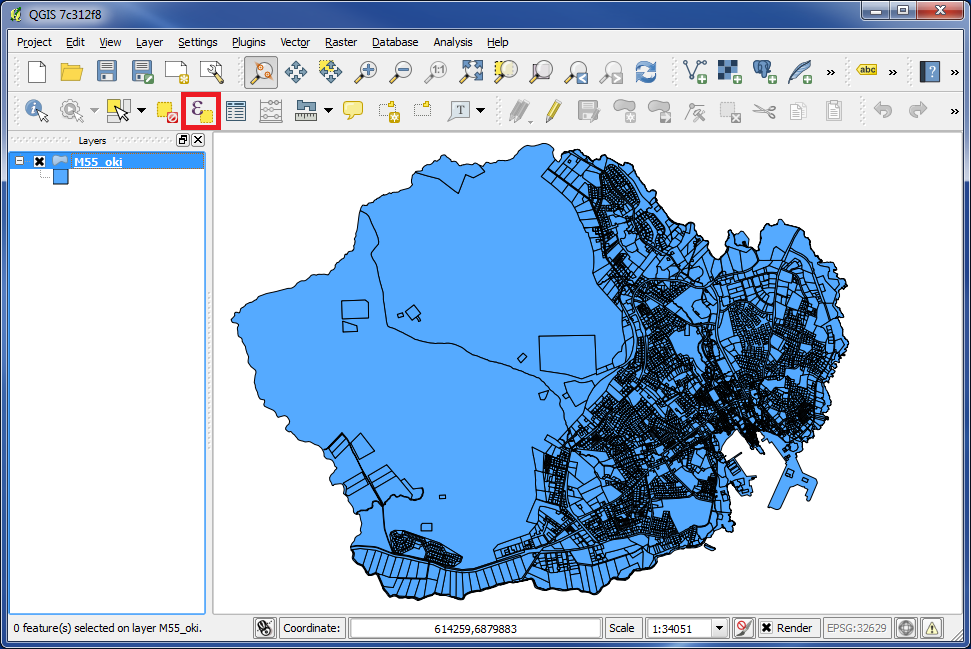
We added a cadastral map into QGIS.
This map/layer is from PostGIS, and we want to export it to .shp
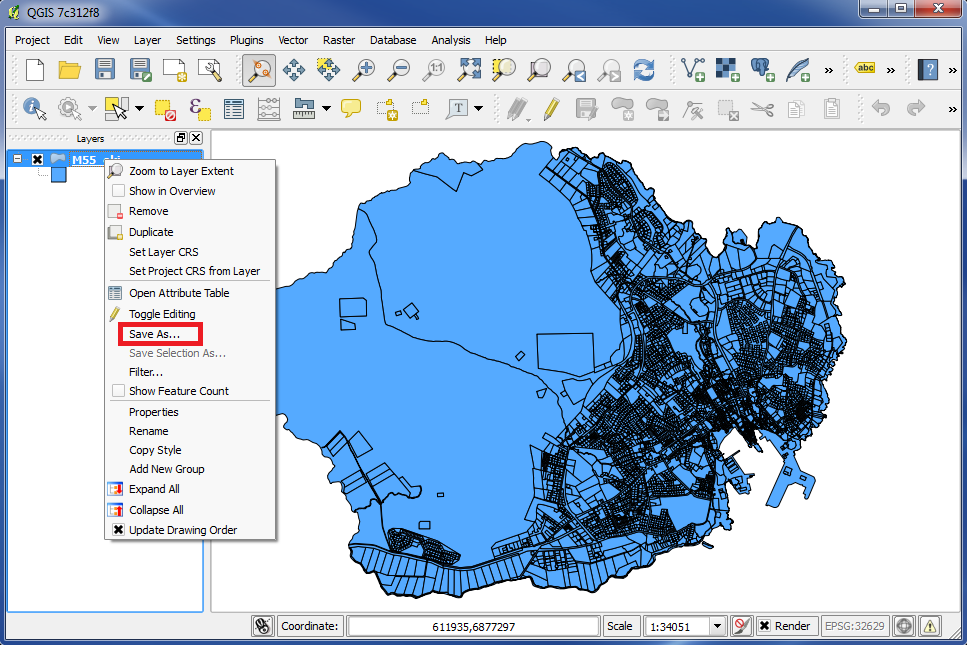
Right click on the layer and choose "Save As...".
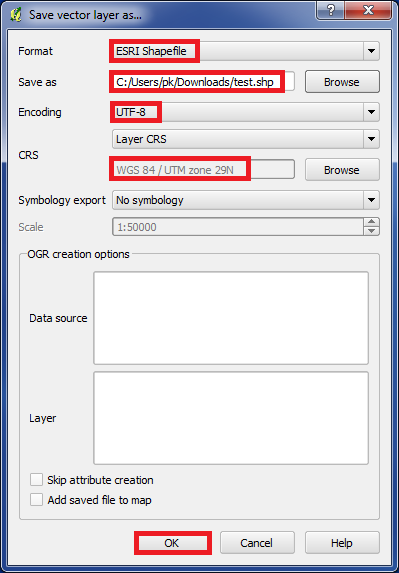
The box "Save vector layer as..." popups.
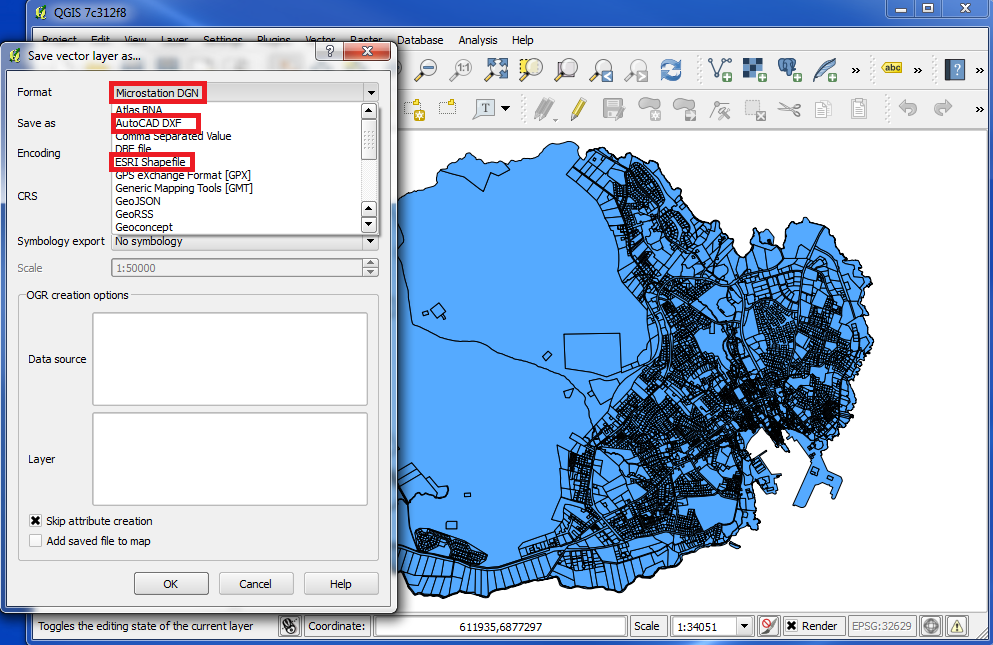
Here we can save the layer to many different formats. For example we can see "Microstation DGN", "AutoCAD DXF" and "ESRI Shapefile" in the list.
In our example we will save to "ESRI Shapefile" format.
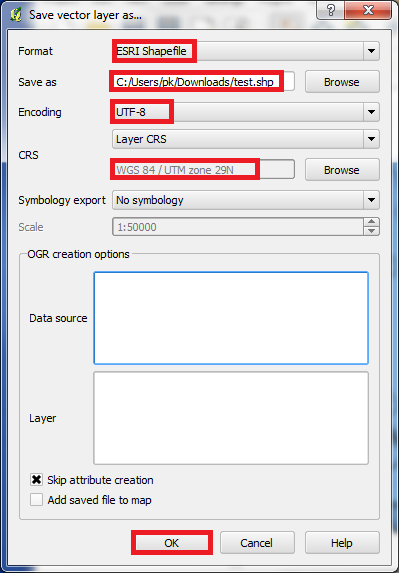
Under "Save as" we need to specify the directory, where we want to save the .shp file.
Under "Encoding" we need to make sure, that we are using the correct encoding, so that we will not get unexpected problems with special characters.
Under "CRS" we specify coordinate system.
Click on "OK" when everything is filled out correct as you want it.
Now the layer is saved as a .shp file.
Please check in the specified directory, and make sure that the .shp file was saved there.
We can also filter out some data/maps, and then choose to export only this selection. We will try this now.
We will try to export only those cadastral, which have a perimeter bigger than 1000.
Click on the icon "Select features using an expression".
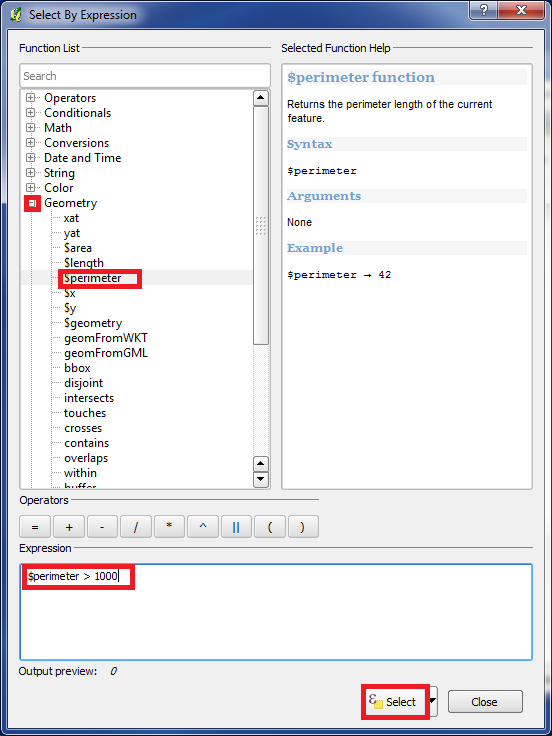
Click on "+" at the left off "Geometry".
Double click on "$perimeter", so that this variable can be seen under "Expression".
Under "Expression" write "> 1000" after "$perimeter".
Then click on "Select".
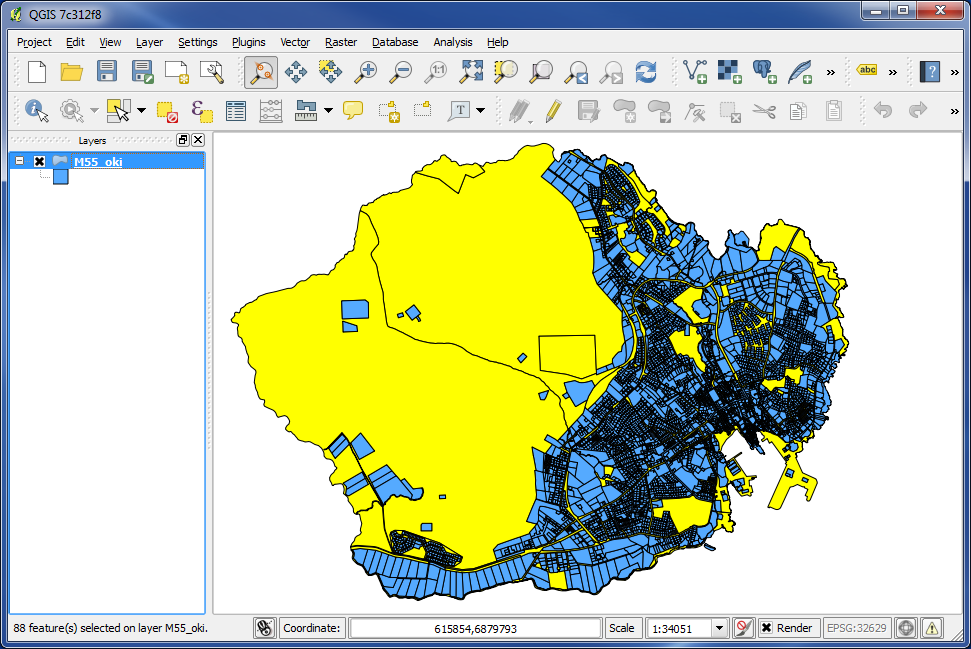
The cadastrals with a perimeter bigger than 1000 are now marked with yellow.
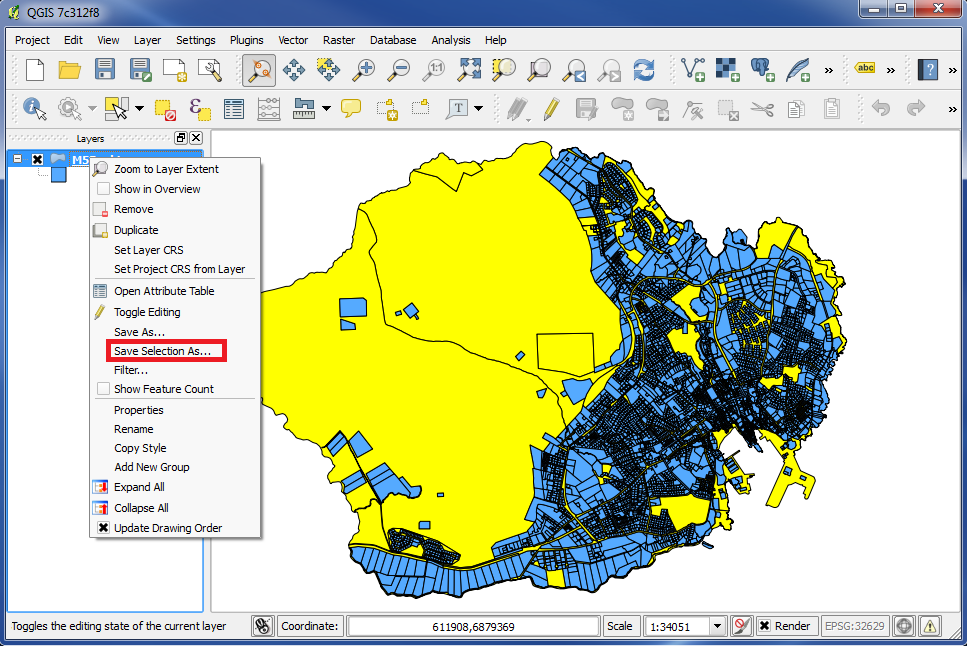
Right click on the layer again, and this time choose "Save Selection As...".
Then fill in the box "Save vector layer as..." the same way as we did the first time. There is no change.
Under "Format" choose "ESRI Shapefile".
Under "Save as" specify the directory, where you want to save the .shp file.
Under "Encoding" please make sure, that you are using the correct encoding. Otherwise you could get unexpected problems with special characters.
Under "CRS" specify coordinate system.
After you filled out everything as you want it, please click "OK".
Now the layer is saved as a .shp file.

Now we will take a look at the .shp file, that we just created.
We remove the layer, that we are using at the moment.
Right click on the layer and choose "Remove".
Then our map area is empty.
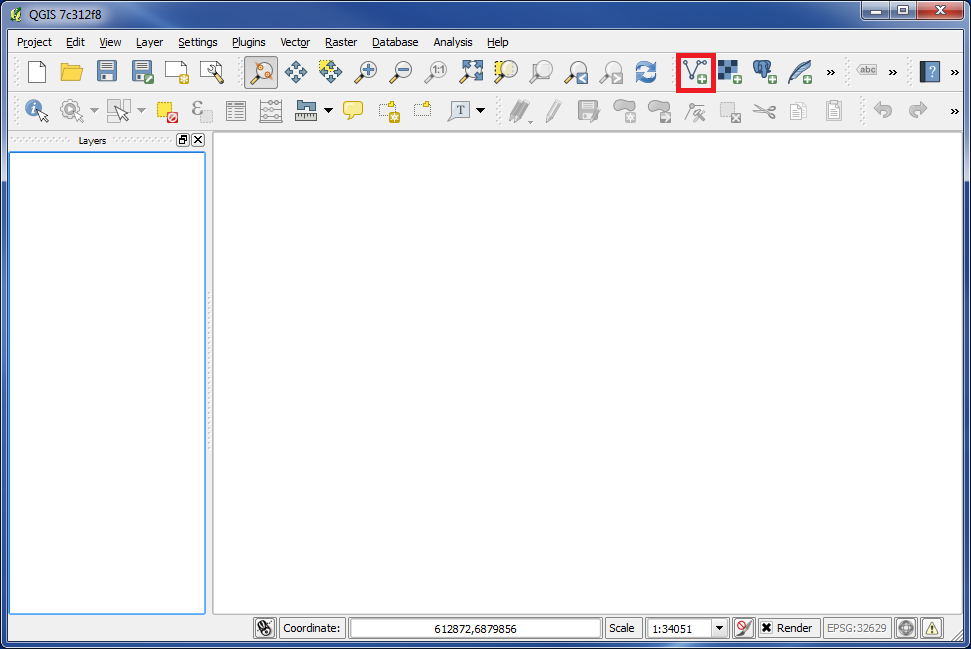
We can open a .shp file by clicking on the icon "Add Vector Layer".
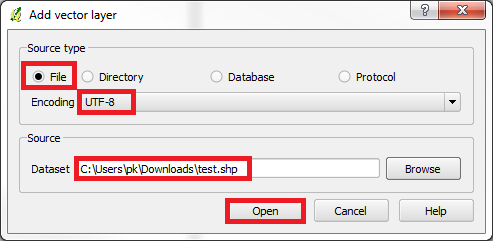
Choose "File" under "Source type", because we are going to open a file.
Under "Encoding" please make sure you are using the correct encoding. Otherwise you could get unexpected problems with special characters.
Under "Source Dataset" specify the directory and file, that we are going to open.
Then we click on "Open".
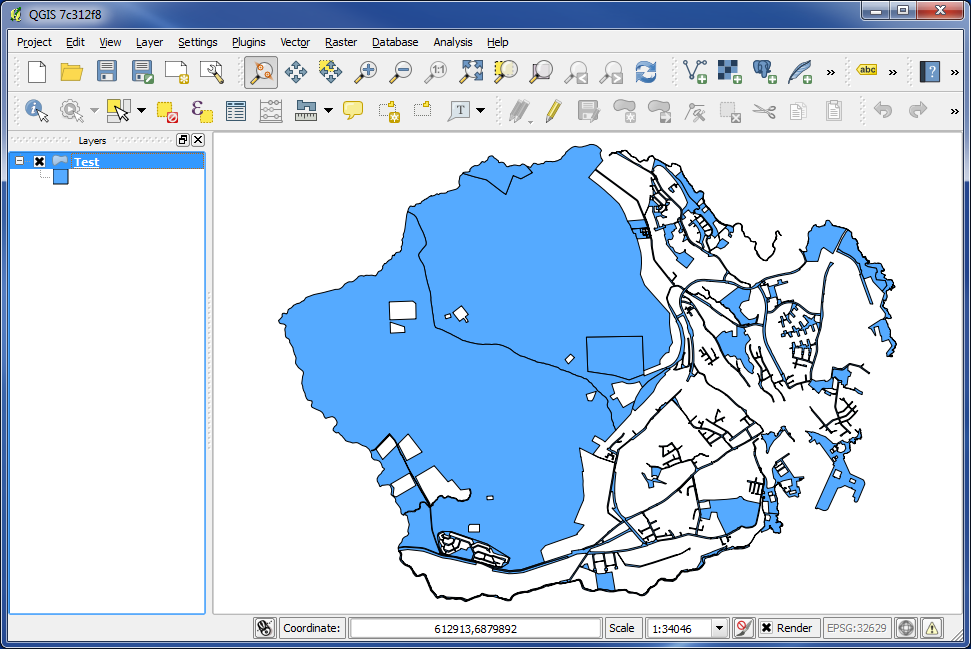
And here is a .shp file (or layer), which contains cadastrals with a perimeter bigger than 1000.
You are welcome to write comments below. If you have any questions, please post in the forum.